Online Car Rental System Using PHP With Source Code
How to create a car rental website. Complete car rental platform script with source code in php. Follow the steps below, or watch the video in this article. We need a localhost server to do this. I.e. Xampp
Online Car Rental System Using PHP With Source Code
Table of content
- About the complete car rental platform script
- Features of the complete car rental platform script.
- Script Include
- Requirement
- Step by step to run the script (installation)
About this project
This project named complete car rental platform script using php is a car rental portal platform source code which can be used to create a car rental website for your projects, or for your personal/ company car renting business. After the installation of this script, clients/ visitors or users can book or rent cars within specific dates and return on agreed date. Car dealers can make use of this script to create a car rental website so anyone who want to rent cars can easily book cars online through your website. It includes an admin dashboard to manage all bookings. We have attached the zipped source code file below:
Features of this project
Admin side
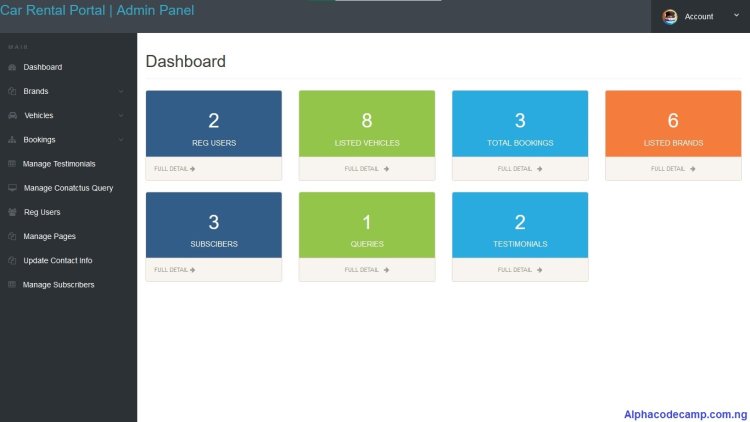
- Dashboard: This page shows the website summary, like the website registered users, all listed vehicles, total bookings, Subscribers, testimonials, car brands, etc.
- Brands: Here you can:
- Create brand – Add or create new brand name.
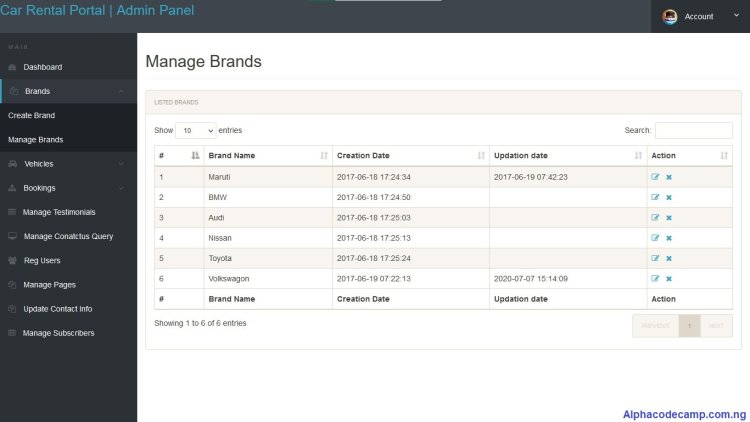
- Manage brands – manage all other created brands, see date of creation, brand name, last updating date, take actions (delete and modify)
- Bookings: Here you will see:
- New bookings – manage all new vehicle bookings, booking number, date, vehicle and take actions.
- Confirmed bookings – manage all confirmed bookings, booked vehicles, date it was booked, brand name, user name, take actions (view).
- Cancelled bookings – see and manage all canceled bookings, date, booking number, and vehicle
- Vehicles: Here you can:
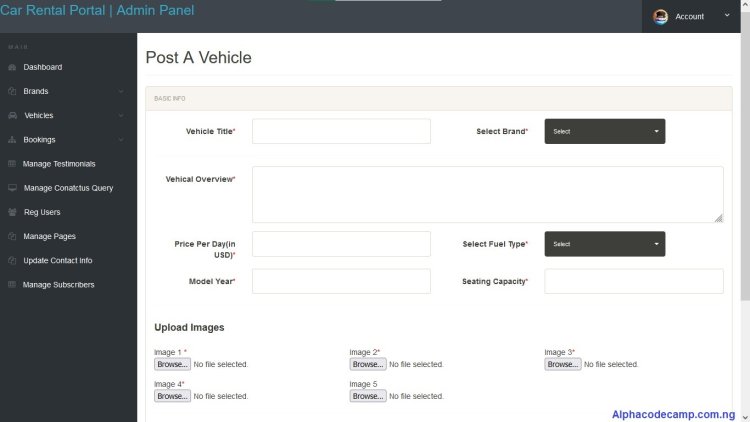
- Post a vehicle – Here you can add a new vehicle. You will fill in the basic details like vehicle name, brand, fuel type, etc and accessories like air conditioner, cd player, Break assist, etc and image of the car.
- Manage vehicles – manage all created Vehicles, brand, model year, fuel type, and also take actions (delete and modify)
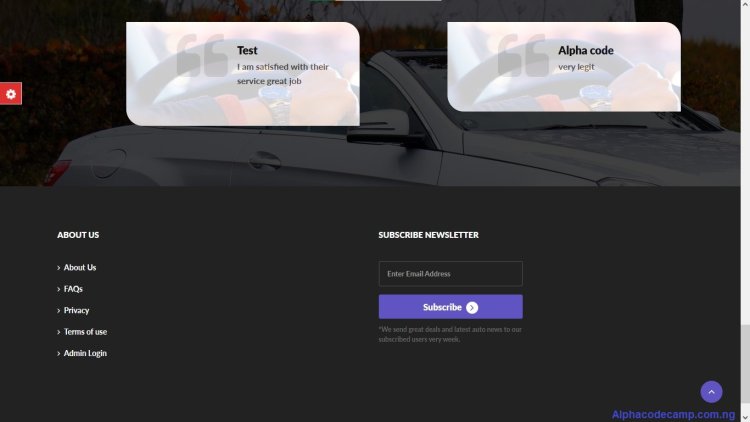
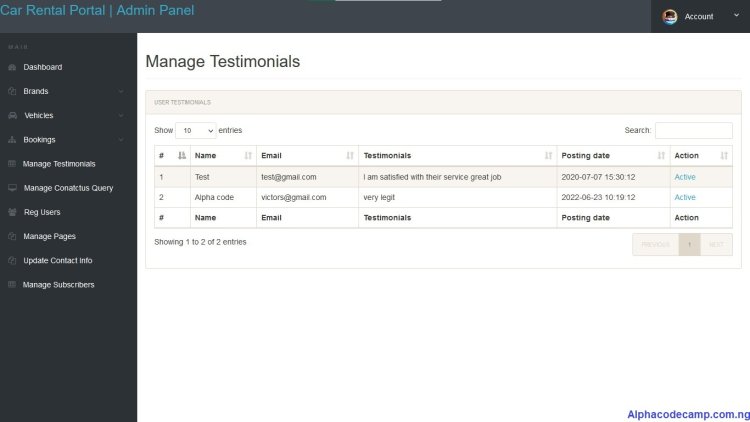
- Testimonials: See and manage all testimonials of users or clients who are happy with your services. You can also approve it to show on website home page.
- Manage contact us messages: manage all messages sent to you through the contact us page.
- Registered users: See all registered users on your website, country, email, and other info’s filled by user during registration.
- Manage pages: Manage all website pages, edit and change the contents. Pages like terms and condition, about us, privacy policy, FAQS.
- Manage subscribers: See all email subscribers to your website here, date of subscription, or you can delete.
- Update contact info: update website contact info like website email, address and contact number.
- Change password
Client side
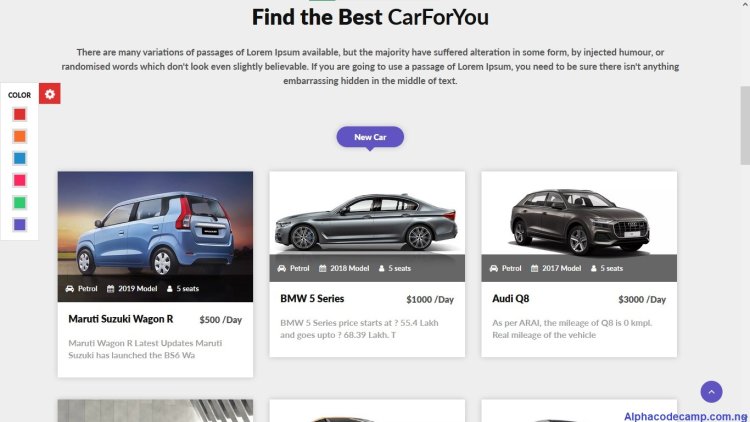
- Beautiful interface/ home page (feed)
- Find best cars you want
- Car search system
- Book cars and see all your booked cars
- See booked car invoice
- Post a testimonial
- View listed cars
- Filtered search system
- Change website color to preferred color
- Login and registration system
- Testimonial section
- Subscribe to news letters
- Your own Profile
- Share cars to social media platform
- See any selected car details
- FAQS
Script Includes
- Php
- Mysql
- JavaScript
- And more…
Requirement
- Any Localhost server – Xampp/ Wamp/ Lamp
Step by step to run the script (installation)
For XAMPP, WAMP, LAMP
- Download the script below
- Extract the Folder from the zipped one.
- After that, open and copy the extracted folder named “carrental” and paste in “C:/xampp/htdocs” directory/ folder for XAMMP, Paste in “C:/wamp/www” directory for WAMP, Paste in “var/www/html” directory for WAMP.
- Open XAMPP and start Apache and mySql.
Database creation
- Browse the path “http://localhost/phpmyadmin/” on your browser.
- Click on New on the left side of your screen.
- Then create a database named “car_rent” and click on create.
- Click on the import tab at the top.
- After that, click on browse file and select the sql file named “car_rent.sql” seen in the SQL folder we extracted and click on go.
After creating a database
- Then Open your web browser and go to the path. E.g. “http://localhost/carrental”
For live servers
Creating a database
- Click on download below
- Extract the folder
- Copy the extracted files.
- Login to your cpanel from a hosting platform.
- On your Cpanel menu and Click on MySQL® Databases
- Create a new Database.
- Add a New User,
- Add User To Database,
- Set User Permissions.
After creating a database
- Go back to your Cpanel, go to file manager.
- Open Public_html and upload the files we extracted.
Screenshots
Testimonial section
Car details

Manage brands
Manage testimonials
Post a vehicle
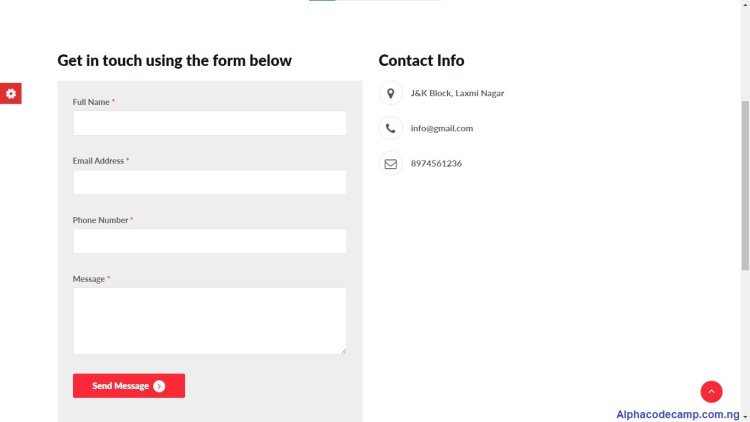
contact page
Video tutorial
watch video for ease installation:
Admin login
Username: Admin
Password: 12345


