How to create a free online storage and file sharing platform like mediafire using PHP
How to create an online storage and file sharing website like media fire, Google drive, etc with the complete free online storage platform script built using PHP. The guidelines and video for this installation is in the article below
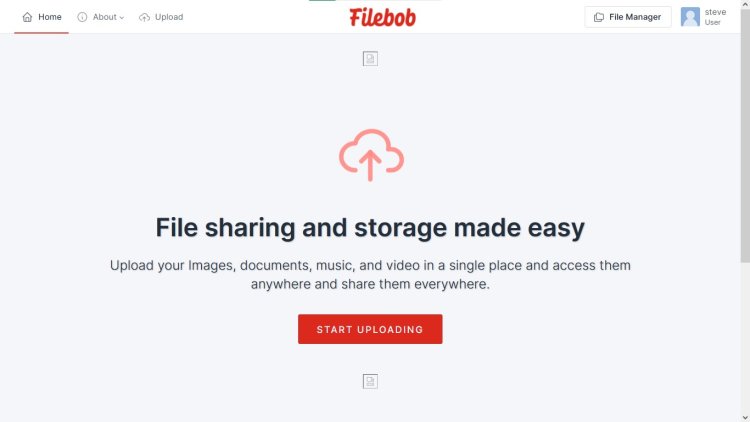
A complete free online storage platform script with source code in PHP, MYSQL
Table of content
- About the complete free online storage platform script with source code in php.
- Features of the complete free online storage platform script with source code in php.
- Written in
- Requirements
- Steps to run this script (installation)
- Screenshots
- Video tutorial
About the complete free online storage platform script with source code in PHP, MYSQL
The complete online storage platform script is an online storage and file sharing script which you can use to create an online storage and file sharing website like mediafire, Amazon s3, Google drive, mega etc and other online storage website. Here users or visitors can upload or store images, documents, music, videos, large files, etc. to the site and get the unique link for each uploaded files. Visitors can upload any file without registering can copy the unique link, but registering will help the user in managing all his/her uploaded documents.
This script includes an admin panel where administrators can manage the website settings, registered users, activities, change site name, run adverts on the site, and see every uploaded documents. Each registered user has there own dashboard. This script is a CMS whereby admins can customize the website without knowing how to code. More features below.
Features of the complete free online storage platform script with source code in PHP, MYSQL.
Admin Panel
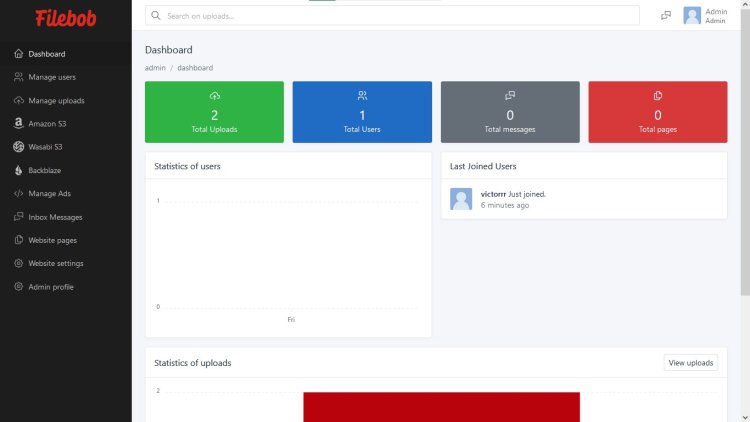
- Dashboard Page: This page shows the website summary. It displays the total uploads, total users, statistics of users and uploads in graph, latest registered users, etc.
- Manage Ads: this page gives the admin a space to place ad codes, links of various sizes in different positions on the website.
- Manage Users: this page shows the list of all registered site user, here the admin can:
-
- Add admin – admin can add new admin to the site
- Ban & unban users – admin can ban and unban users from the site.
- View user - displays the users details, uploads, etc. on the site
- See users name
- See user’s status.
- others.
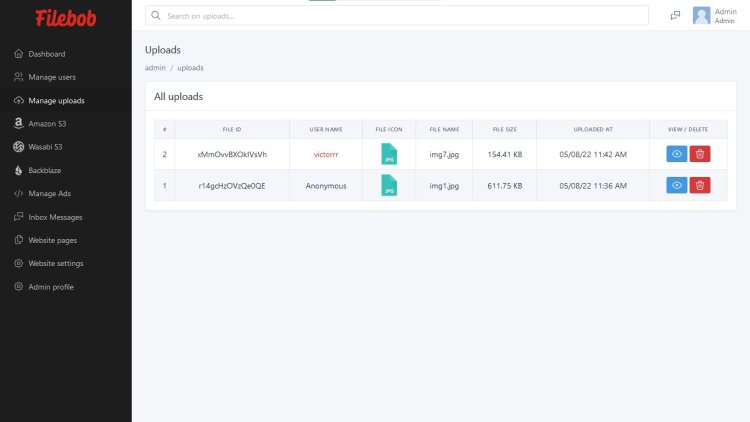
- Manage uploads: this page shows the list of all the uploads made on the site both from registered users and non registered users. Here admins can also download uploads, delete uploads. Uploads info are also displayed here.
- Inbox messages: displays all inbox messages.
- Storage backups: This page allows the admin to integrate third parties storage system in other to backup all uploads on the site to avoid data loss from any crash. There are different backup methods on this site which are Amazon s3, wasabi s3, etc.
- General settings:
-
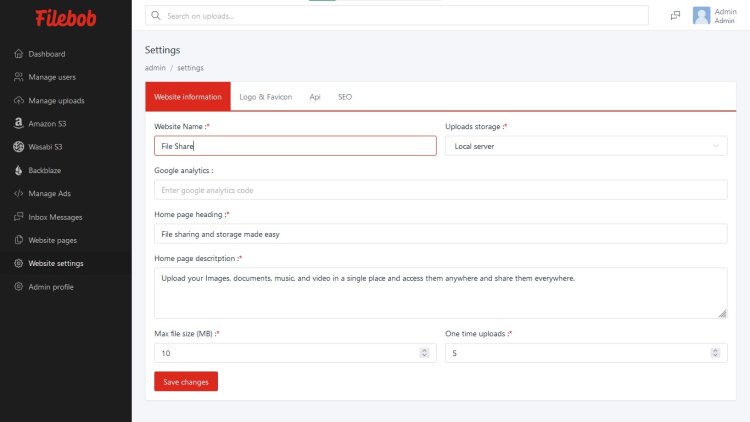
- Website information: In this page, the admin can change the website name, home page heading and description, the max size for uploads and other important settings.
- Logo settings: change the website logo and favicon from this section with recommended size.
- SEO: Seo is an important factor to rank, add website description, tags, title.
- Admin settings
- Search in admin panel system
- Login system
- Add pages
User/ visitor side
- user dashboard
- Update Profile
- Google captcha
- Support page
- Login/registration system
- SEO optimized
- Non registered user uploads
- Social integration
- Contact page
Written in
- PHP
- Database – MYSQL
- More…
Requirements
- PHP
- MYSQL database
- Server
Steps to run this script (installation)
Install a localhost server (XAMPP) in your pc then follow the steps in the article.
Xampp
- Click on the provided download button below.
- After downloading, extract the code.
- Copy and Paste the extracted folder in C:/xampp/htdocs
- Open XAMPP control and start Apache and MYSQL.
Creating a database
- Open your browser
- Go to this path “http://localhost/phpmyadmin/”.
- Click New and Input this name “storage_db” and click on create.
After creating a database (installing)
- Browse the path. E.g. “http://localhost/fileshare” in a new tab
- Fill all the installation information (username – root, database name- storage_db ) and install
Screenshots
Video Demo
watch installation video


