How to create or start a free blog website using PHP and MySQL with complete source Code
Do you want a free blogging website/ platform with website source code. Follow the steps below to create your own blog, or watch video in this article. We need a localhost server to do this. i.e Xampp.
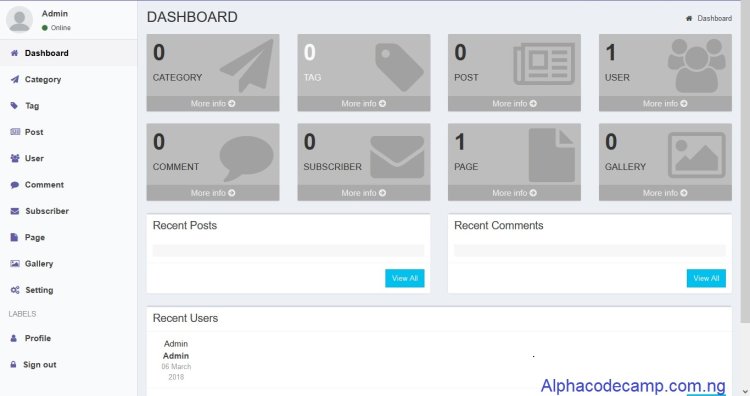
The Complete Blogging website with source code.
Table of content
- About the complete blogging website with source code
- Features of the complete blogging website with source code
- Includes
- Requirement
- How to run the complete blogging website
- Screenshots
- Video tutorial
About the complete blogging website with source code
The project the complete blogging website with source code is a complete blogging website source code (CMS) which you can use to create your own blogging website. It has a good design and it can be modified. See the features below:
Features of the complete blogging website with source code
- Dashboard: This is the control panel of the user that shows the summary of the entire page. (Admin dashboard and user dashboard).
- Neat/ beautiful interface: Has a very beautiful interface.
- Easy navigation
- well structured
- mobile friendly
- Comment system
- Subscribe system
- Recent post, recent comment, recent user
- Tags, categories management
- Individual user profile
- Notification system
- Search system
- Newsletter system
- Seo Tools
- Google maps
- Login page
Includes
- Html
- Css
- Javascript
- Php
- Mysql database
- Json
- ajax
- Many more…
Requirement
- Browser (Firefox, edge, chrome etc).
- Your Code/ text Editor (visual studio code, notepad ++, sublime).
- Xamp/ wamp – local server
How to run the complete blogging website
For us to run this project, you will have an installed localhost server on your computer like e.g. XAMPP. Or you have purchased a hosting plan on any web server. (watch the video below to understand better)
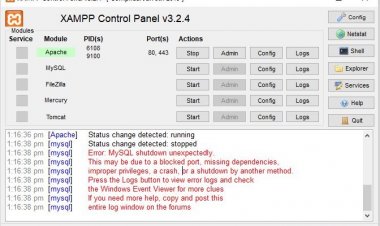
- Open XAMPP and start Apache and mySql. After that then follow the steps below:
- Download and extract the file.
- After that copy the extracted folder and paste in “C:/xampp/htdocs” directory
- Open your browser (i.e., chrome) and browse the URL “http://localhost/phpmyadmin/”, this will take you to phpMyAdmin
- When the page loads, create a new database by clicking on New on the left hand side.
- Create a database named “blogsite” and click on create.
- Click on the import tab.
- Click on browse file and select the file name “blogsite.sql” in the db folder we extracted and click on Go.
After creating a database
- Then Open a new tab on your browser and browse the path. E.g. “http://localhost/blog_master/index.php”
Screenshots
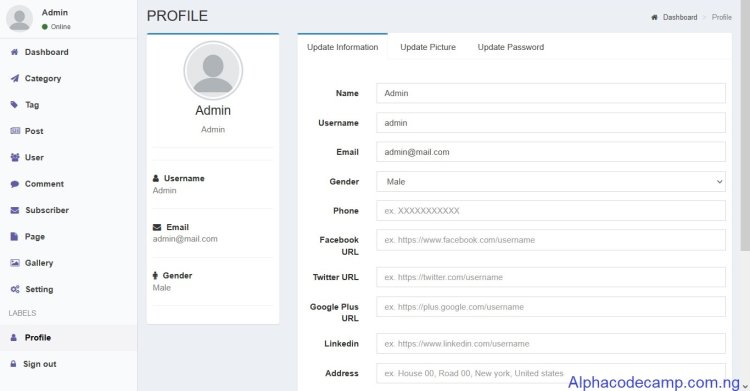
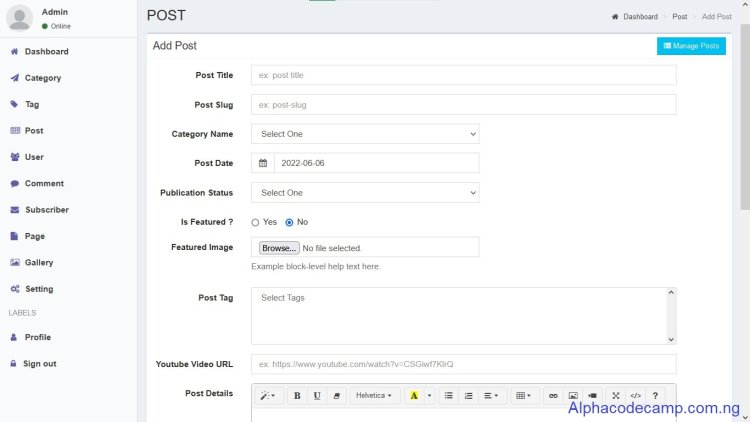
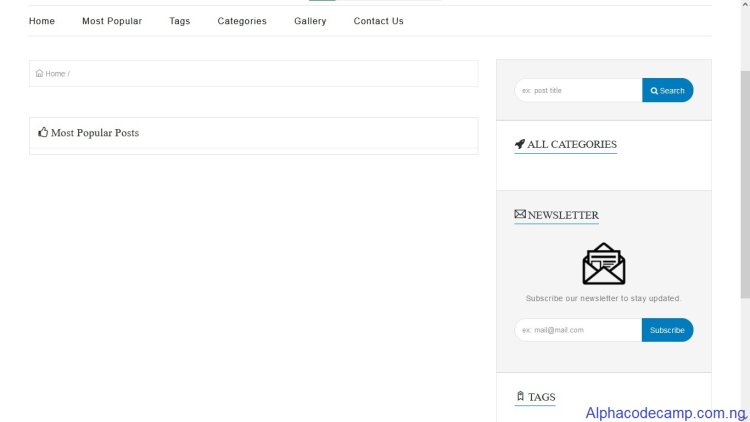
Admin login
Email: admin@gmail.com
Password: 12345678
Video tutorial
Watch the video below and follow closely:


