How to create an ultimate Music Sharing Platform using PHP and MySQL with source Code
Do you want a free ultimate music sharing website/platform with website source code in PHP and Mysql. Follow the steps below, or watch video in this article. We need a localhost server to do this. i.e Xampp.
Project: The ultimate Music sharing platform using PHP and Mysql with source code.
Table of content
- About the ultimate music sharing platform using php and mysql
- Features of the ultimate music sharing platform using php and mysql.
- Script Include
- Requirement
- Step by step to run the script
- Screenshots
- Video tutorial
About the music sharing platform using php and mysql
The project the ultimate music sharing platform using php and mysql is a complete ultimate music sharing platform script (CMS) which you can use to create your own music sharing/ store website. It includes many features which makes it unique for your music sharing website project. It has a high quality design and easy to modify. See all features below:
Features of the ultimate music sharing platform using php and mysql.
Admin Panel
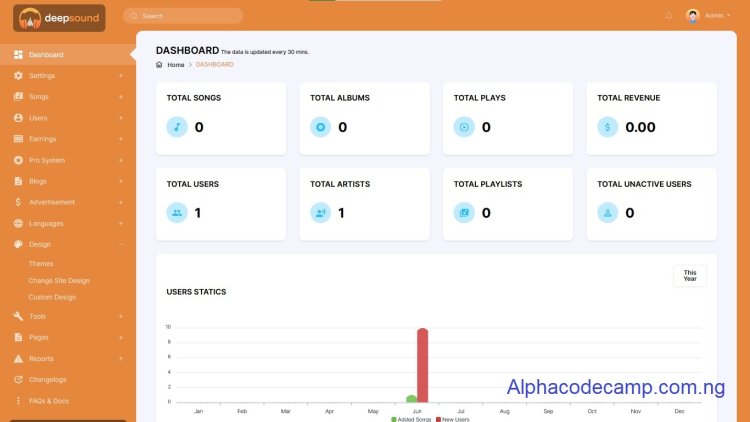
This platform script comes with a very powerful admin panel where you can monitor your website activities; change your website to your preferred settings and much more. See them below:
- Dashboard: Shows you the total number of Songs, album, plays, revenue, users, artists, playlists, inactive users, with full detailed chart of all the users’ statics.
- General settings: Here you can modify user settings like (maintenance mode, account validation, etc.), FFMPEG system setting, Prevent Login Settings (bad login limit), Notification settings like (Email notification), Activation settings, etc.
- Songs settings: Here you can add new, edit, delete categories, albums, playlists, and payment requests, manage son reviews, etc.
- Users: Here you can manage your users, artist request, custom profile fields, affiliate settings and others.
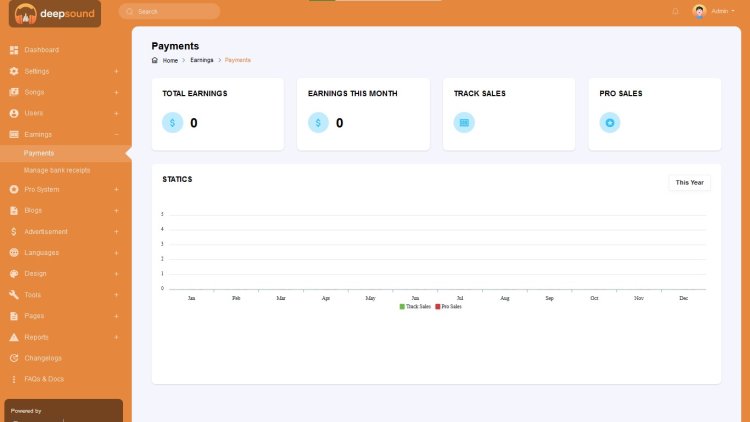
- Earnings: See total earnings, month earnings, track sales, pro sales, and statics graph.
- Pro system: enable and disable pro system.
- Blogs: Add blog articles, add blog categories, manage blog, etc.
- Advertisement: place adverts, manage users advert etc.
- Languages: manage, add, and delete site language.
- Design: change the whole site to a new theme. Comes with two themes. Change site design, custom design.
- Tools: Manage announcement, auto follow, mass notification, ban user, generate sitemap, backup, mailing list.
- Pages: manage all site pages like the terms and condition page, privacy policy, etc.
- Reports: see any reported user, and take action on them.
Front end features
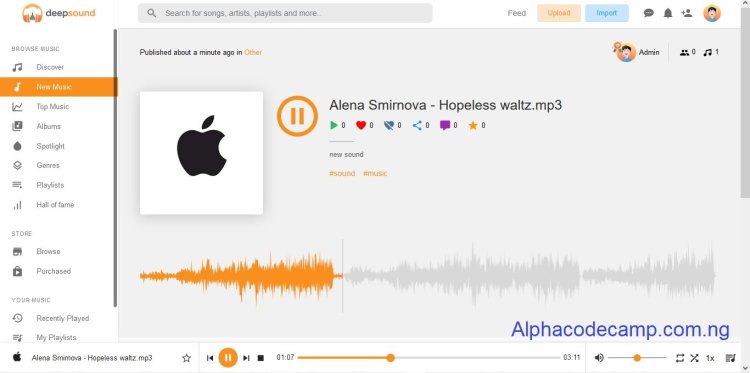
- Upload music: upload any song or music you want and share with other artists or users
- Import music: import music from itunes.
- Feed: see other users songs, you can like, dislike, comment, repost, share, etc
- Sell songs: Sell your songs to other users and make money
- Chat system: chat with other users.
- Wave generator: generates real time waves of any music.
- User profile: create your own user profile by filling in your details.
- Modes: comes with dark and light mode
- Pro system
- Favorites
- Hall of fame
- Receive notification
- And many more…
Script Include
- PHP
- MYSQL
- And many more…
Requirements
Before we proceed with the installation, make sure you have the following installed on your server
- PHP 5.5 +
- MySQLi Extension
- GD Library
- Mbstring
- cURL
- ZIP
- allow_url_fopen
Step by step to run the script
Open XAMP and start Apache and mySql. After that then follow the steps below:
Step1: Download and extract the file.
Step2: After that copy the extracted files and paste in C:/xampp/htdocs
Step3: Open your browser (i.e., chrome).
Creating a database
Step4: Go to URL “http://localhost/phpmyadmin/”
Step5: When the page loads click on New on the left hand side.
Step6: Create a database named “Music” and click on create.
After creating a database
Step9: Then Open a web browser and browse the path. E.g. “http://localhost/”
Screenshots
From Admin Panel

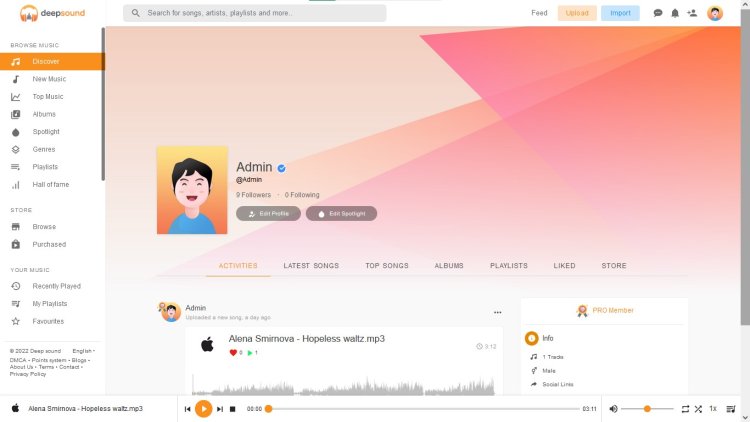
From user side
Video tutorial
Watch video below and follow all the steps:
| File Size | 77.33 mb |
| Last Updated | 11 july 2023 |


