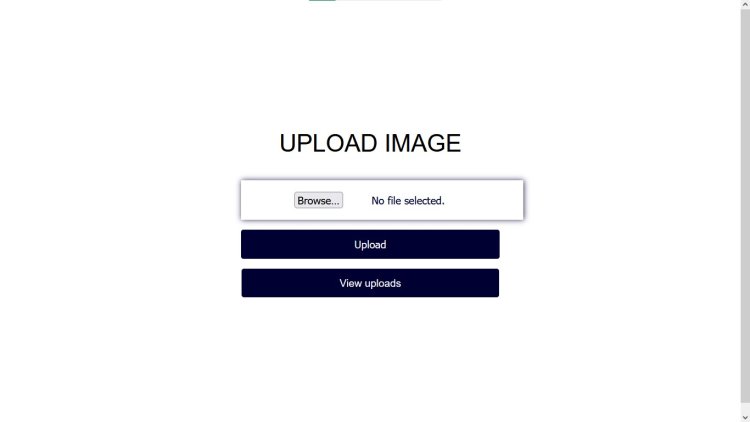
Upload image in PHP MySQL database and display
Learn how to create a very responsive image upload form using php and mysql database. Follow the steps below and afterwards you can create your own image upload form. you will need xamp to do this.

Project: How to create a very responsive Image upload form using PHP with source code
This article will show you how to create a very responsive image upload form using php. Follow the steps below and afterwards you can create your own image upload form. We have also provided the downloadable source code in zip if you want to download. Follow steps below:
Table of content
- Features of the image upload form
- The Script includes
- Requirements
- How to run the script
- Screenshots
Features of the image upload form
- Has a clean interface
- Easy Documentation
- View uploaded images
- Images zooms on mouse hover
- Very responsive
Script Includes
- Php
- Mysql database
- Uploads folder
Requirement
- Browser (Chrome, firefox, or any other browser).
- Any Code Editor (Visual studio code, notepad ++, sublime, other).
- Xampp/ wamp
How to download and Extract source code
In other to run this project, you should have an installed localhost server on your computer like e.g. XAMPP. Or you have a hosting plan on any web server.
- Download and extract the source code.
- After extracting copy the extracted folder and paste it in “C:/xampp/htdocs”
- Run XAMPP and start Apache and mySql.
- Open any of your browser (i.e., chrome) and browse this URL “http://localhost/phpmyadmin/” and this will take you to phpMyAdmin
- When it opens, you then create a new database by clicking on New on the left hand side of the screen.
- Then create a database named “imagedb” and click on create.
- Go to the import tab and click on it.
- Then click on browse file and select the file named “sql” in the folder we extracted and click on go.
After database creation
- Then Open a new tab on your browser and browse the path. E.g. “http://localhost/{Folder-name}”
Screenshots
one

Two


